
Installing Anaconda In 10 Easy Steps
Ashish PatilWhy use Anaconda?
To all the Data Scientist, Machine learning and AI enthusiast who would love to deploy your developed and trained ML & AI models into production swiftly with several scientific computing languages, libraries packages and tools all inside one environment then Anaconda is for you!
What is Anaconda?
Anaconda is free and open source platform for python language to be used in data science and machine learning related applications. It includes various scientific packages like numpy, scipy and pandas etc. Anaconda's installer tool, Conda can be used for multiple packages. One of the main benefit is handling dependencies between one or more packages becomes easier. In fact, Anaconda installation is the most suggested way to install Jupyter Notebooks.
With that, let’s get started with the installation of anaconda.
Step 1: Go to the Anaconda website or https://www.anaconda.com/distribution/ and where the screen appears as below, click download on the latest version of Anaconda and Python.
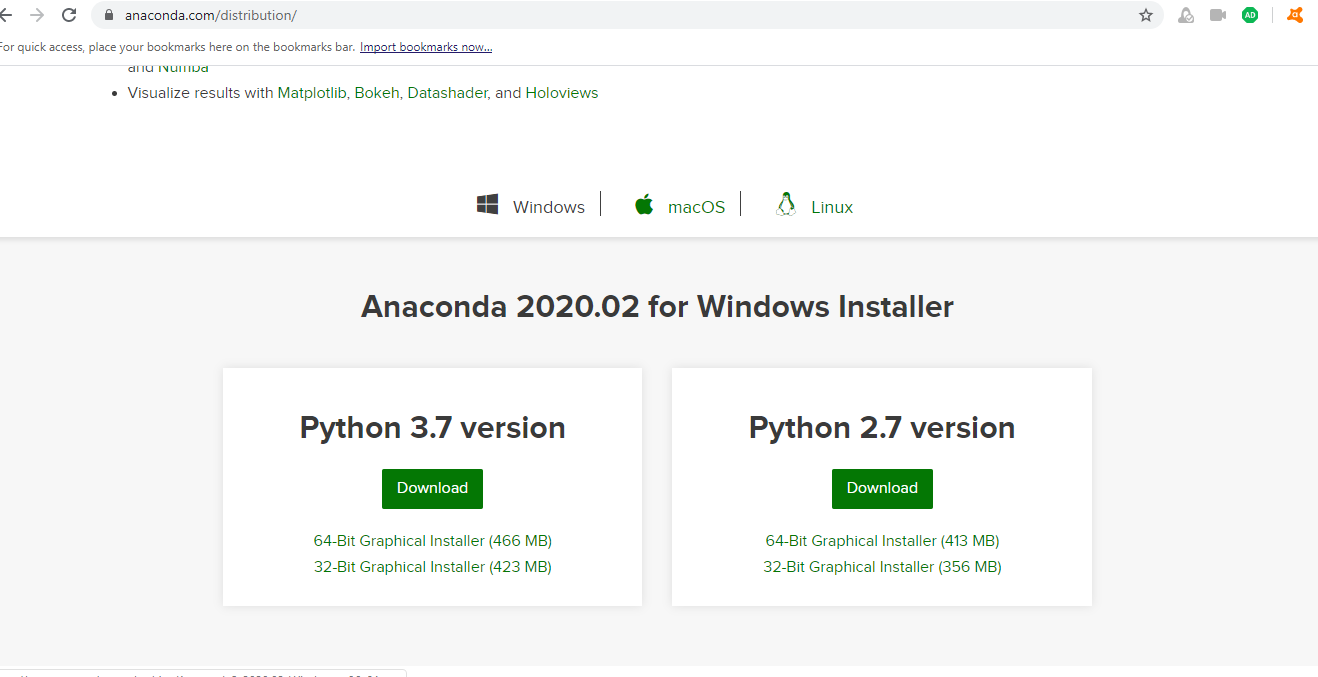
Installing latest python 3.7 version on windows
Step 2: Once the download is completed, locate your download and double click on it. When the below screen appears, click on next.
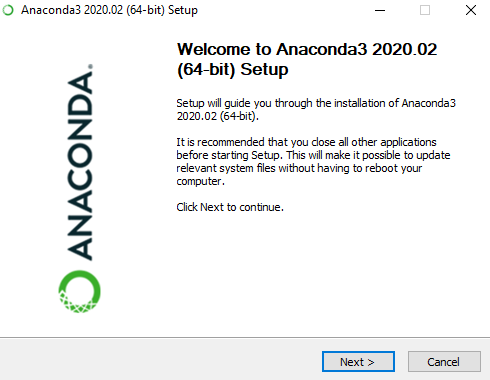
Anaconda3 setup
Step 3: Click on I Agree after reading the license agreement.
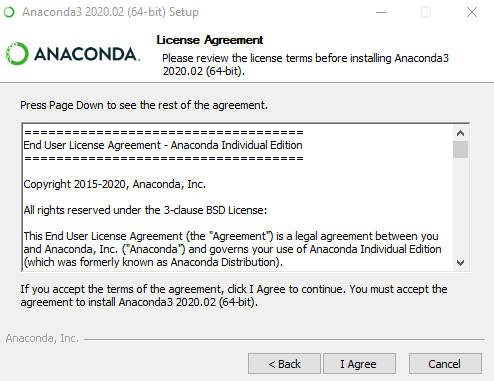
Anaconda Installation License Agreement
Step 4: Click on Next.
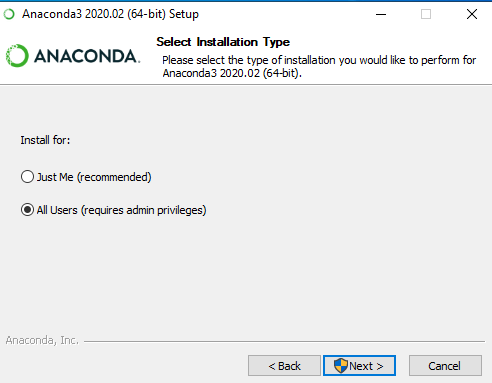
Anaconda Installation User Access
Step 5: Note your Installation location and check if the required space is available and then click Next.
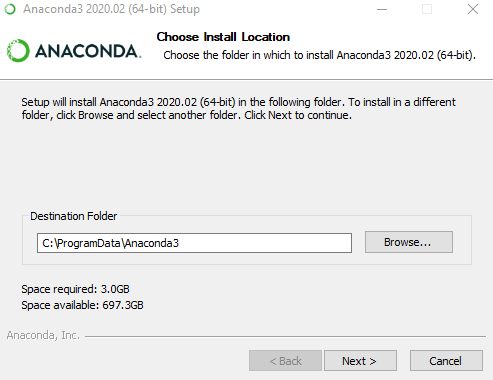
Installing Anaconda in a specific Folder
Step 6: This is an important part of the installation process. The recommended approach is to not check the box to add Anaconda to your path environmental variable. Then click on Install.

Advanced Installation Options for Anaconda
Step 7: Once the installation is completed, click on Next.

Installation Complete
Step 8: Click on Finish after the setup is completed.
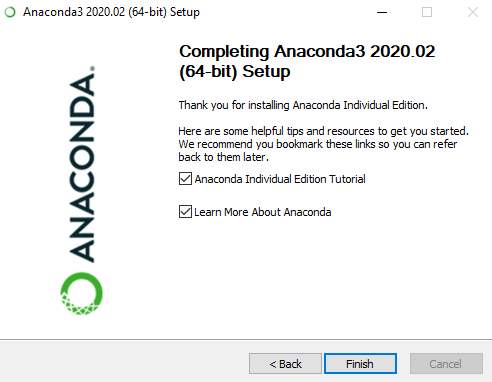
Anaconda3 Setup Completion
Step 9: Open Anaconda Prompt from the search bar appearing below in the desktop. Type “python -- version” in the prompt, click enter and the Python version will appear.
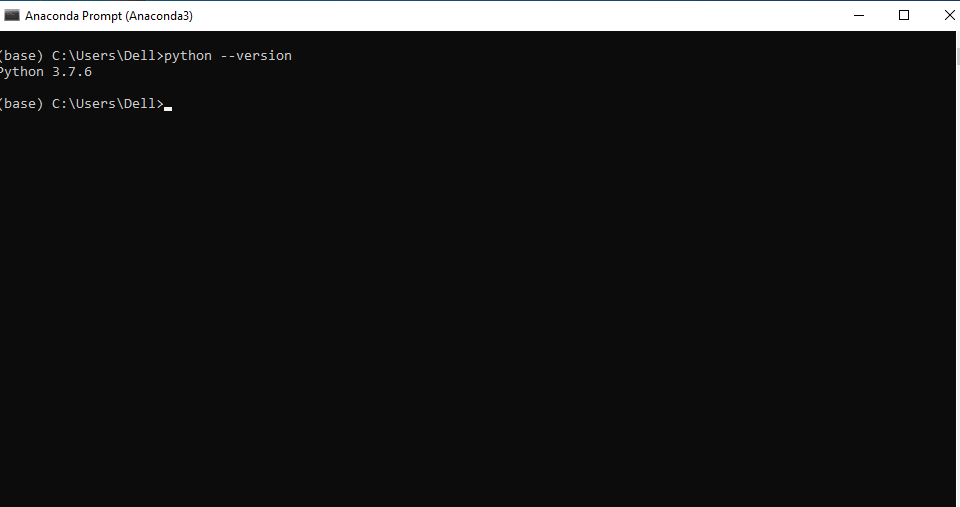
Checking Python Version in Anaconda Prompt
Step 10: You can also check the version of conda by typing “conda info”and then clicking enter.
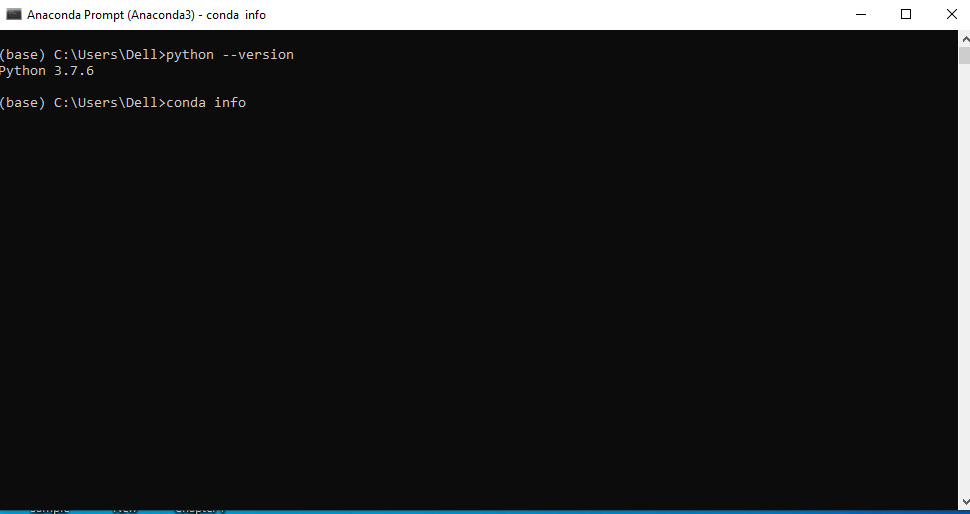
Displaying Conda version in Anaconda prompt
Below is the version of conda that appears in the prompt.
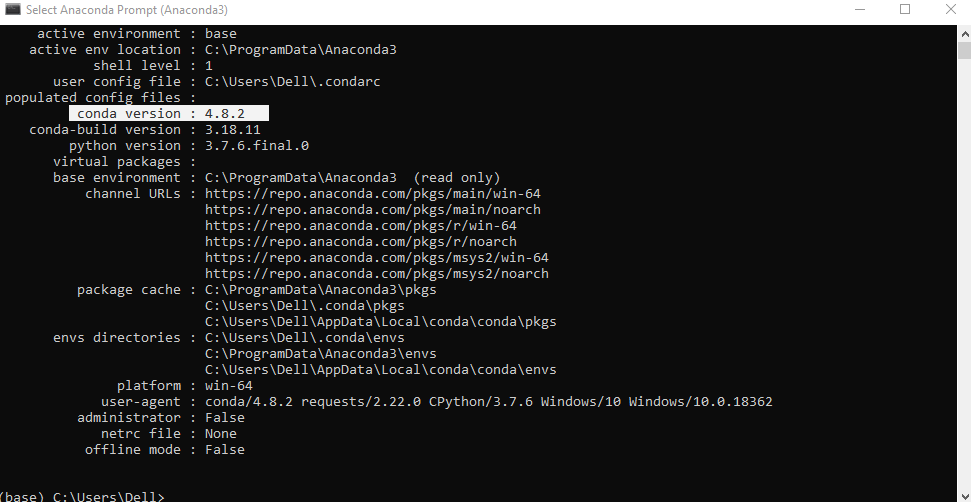
Conda Version
What is Jupyter Notebook?
The Jupyter Notebook is an open-source web application that allows creating and distributing documents that contain various mathematical expressions, visualizations and rich text. Jupyter Notebook permits writing code in python. Anaconda comes with various preinstalled scientific libraries, including the Jupyter Notebook, so only installing Anaconda would be sufficient which we have already installed through above steps. Jupyter Notebook provides an environment, where you can combine code execution, text and mathematics.
Now that Jupyter is already installed, let’s learn how to use it.
Step 1: Open the Anaconda prompt and type “jupyter notebook” and press Enter.
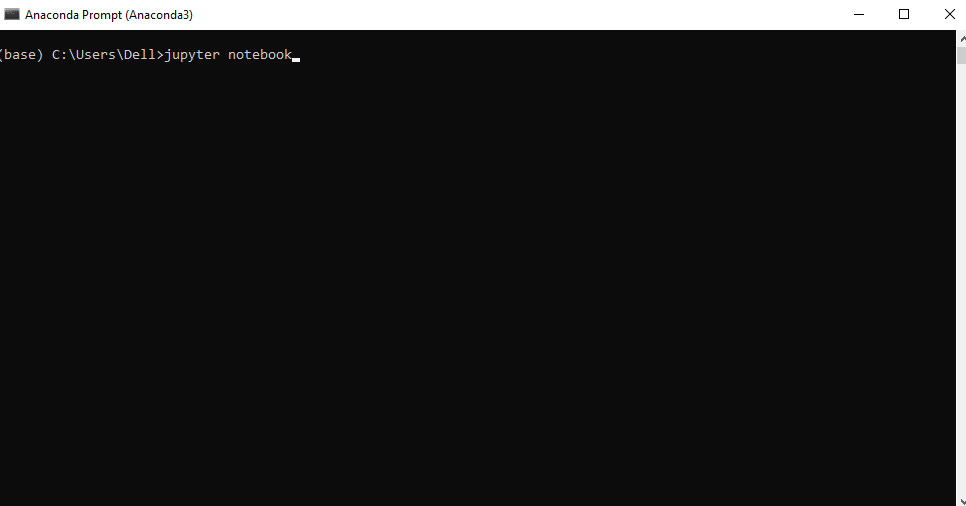
Opening Jupyter Notebook
Step 2: Various files in Jupyter Notebook appear and select the file where new project should be created and stored.
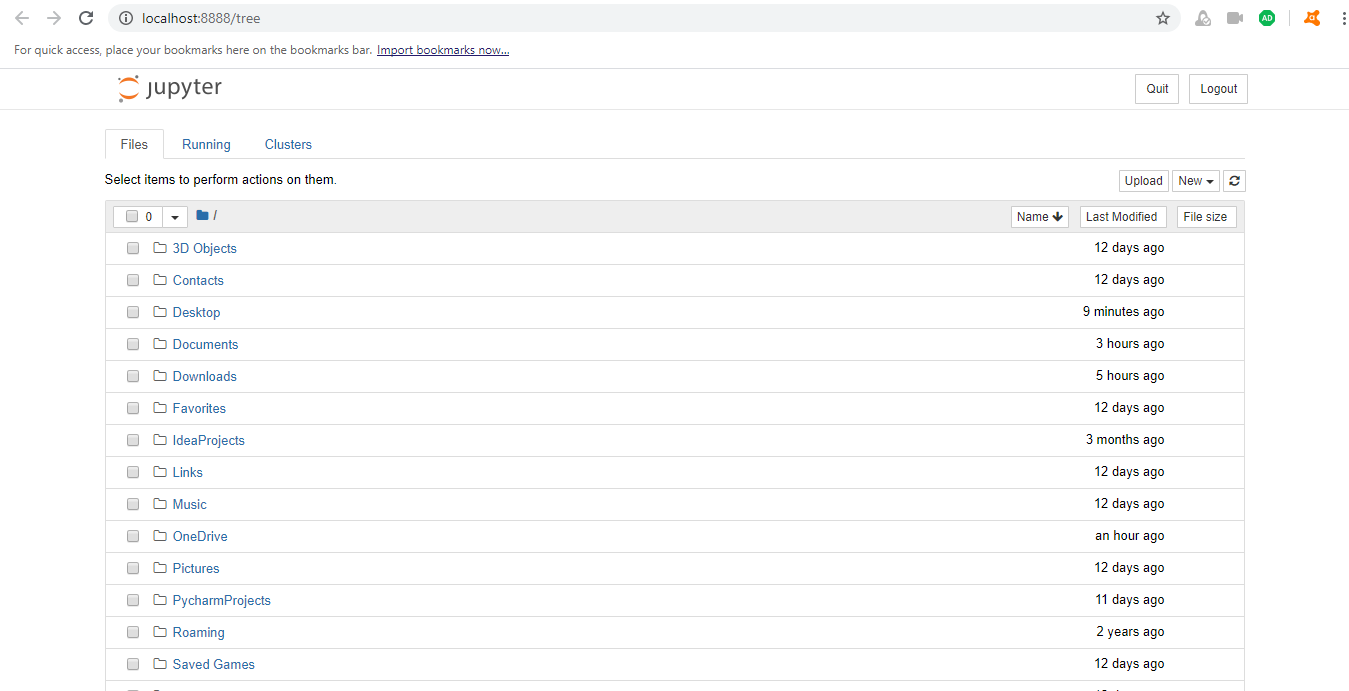
Jupyter Notebook Homepage
Step 3: Select new on the top right side and select Folder and a new folder would be created in the below screen as “unknown folder”.

Creating a new folder in Jupyter Notebook
Step 4: Rename the folder and again select New and click on Python. A new screen will appear as shown below where you can start your coding.
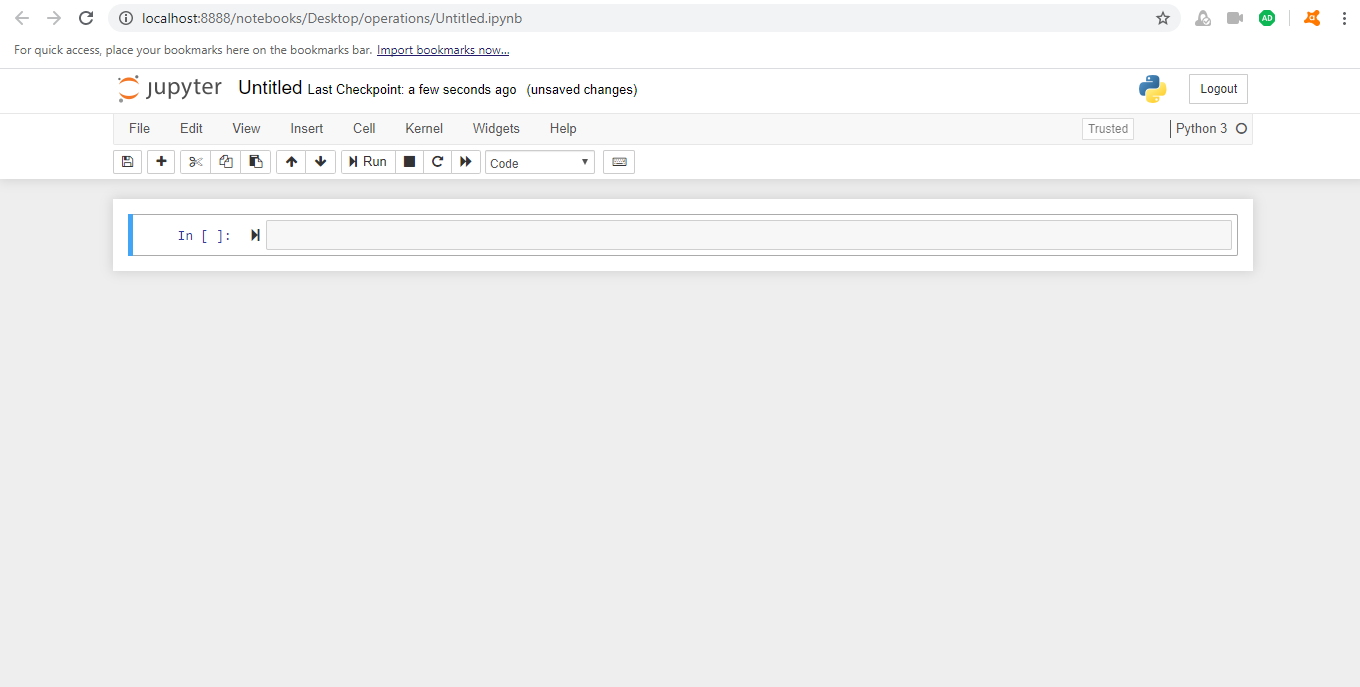
Writing code in Jupyter notebook
Step 5: For example, to solve arithmetic operation like 2+3 which will be giving 5 after running the code by clicking Run.

Executing code in Jupyter notebook
What is Anaconda Navigator?
Anaconda Navigator consists of all the tools which comes with anaconda like Pycharm, Spyder and R etc. We can install any tool we want at any time by direct clicking it.
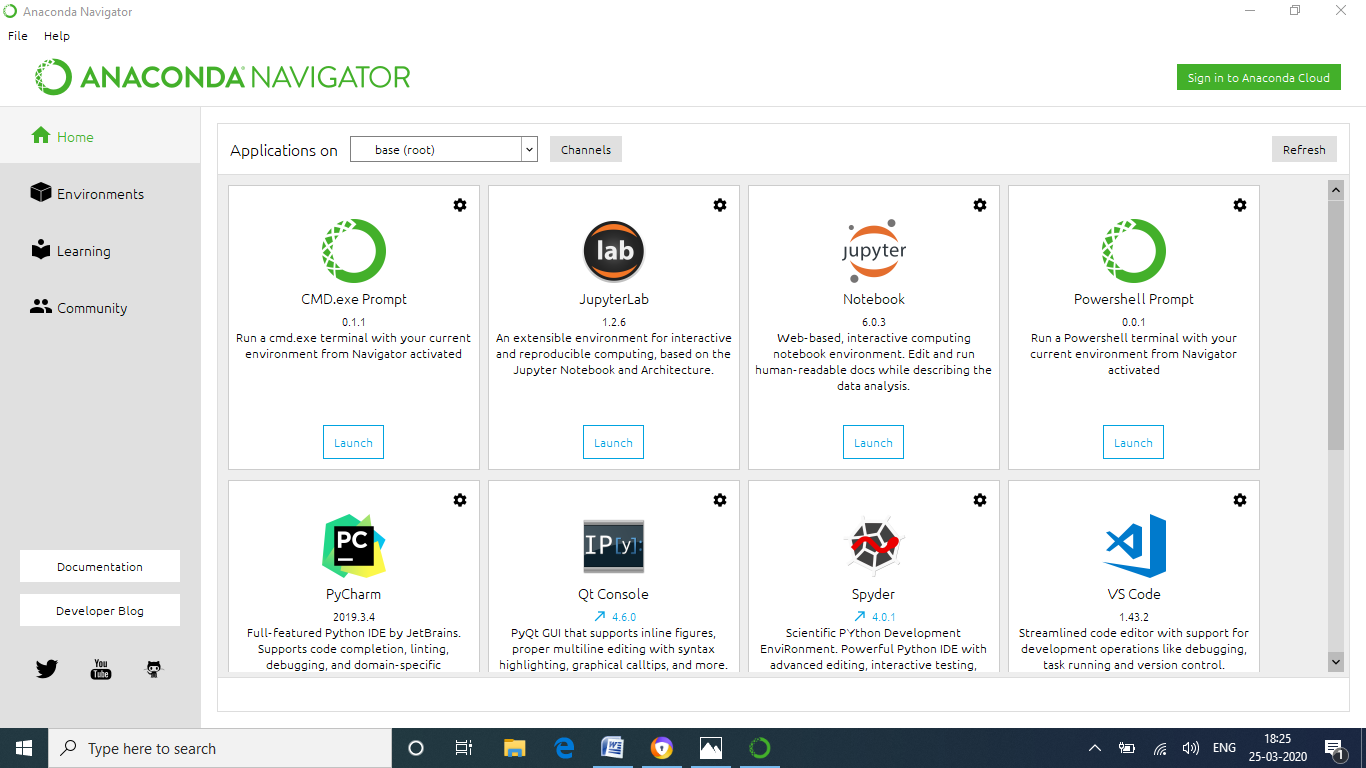
Anaconda Navigator
To know more in depth about each and every application in anaconda visit: https://cluebots.com/blog/default-anaconda-applications